

|
After approximately 40 hours of happy machining with my new RF45 mill, the gearbox slowly developed a loud grinding noise and then after another hour, an oil leak. I experimented with different gears and found that the loud bearing noise depended on what gear I was using to drive the spindle. The cheap Chinese bearings had collapsed in the gearbox, and an oil seal had split! Time to repair it. |
Repairing the RF45 mill gearbox. |

|
I was fairly disappointed with the machine at this point, but I was stuck with it because it was just out of warranty! MAKE SURE YOU BUY FROM A REPUTABLE MACHINE TOOL COMPANY!!! Pay a little extra and go to a big company with good after sales service, not just a little dealer who can’t afford to give after sales service because he is so cheap.
It sounds like some of the cheap imported Chinese machines are hit and miss. Some are really good and last for years, but mine was a dud.
I started by draining the old oil from the head, into a clean bucket to look for any signs of why the gearbox had failed. There was a lot of casting sand in the oil! No wonder that the bearings had failed.
Instructions on how to disassemble an RF45 gearbox. Start by Removing the power from the mill, then remove the hex head bolt from under the head, and drain the oil.
When this is done, raise the head, retract the quill and tighten the quill lock. The next steps are required to remove the spindle from the gearbox as a complete unit .
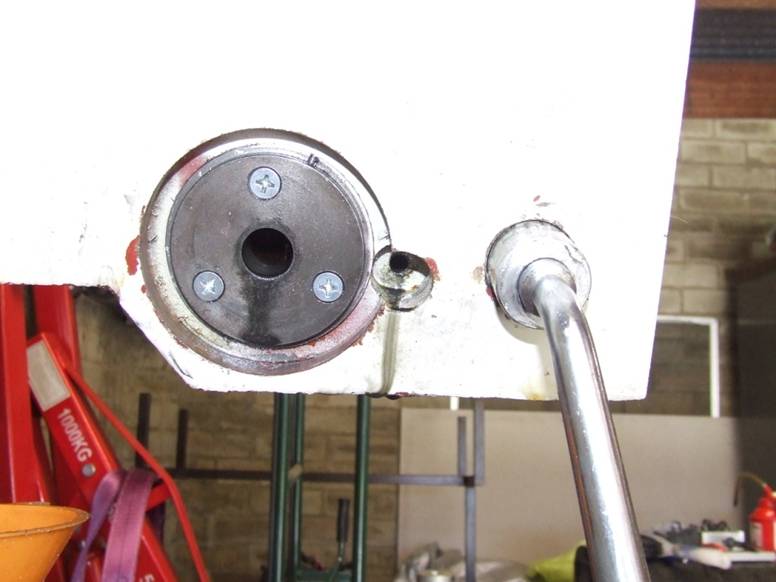
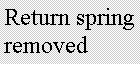
With a leather glove on your hand remove the return spring cover carefully, it will want to uncoil like a clock spring under tension, so beware.
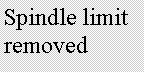
There is a bolt that limits the spindle travel on the LHS of the head, near the return spring adjustment. Remove it also.
Next,
|

|
Left hand side view of the gearbox. |
|
Remove the bolts that secure the handle and fine feed from the right hand side of the machine, they should slide out as a complete unit. Here it is on the ground. |
|
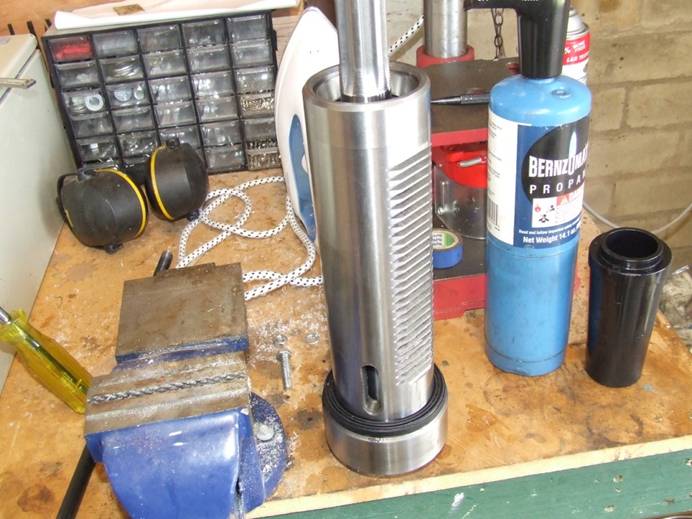
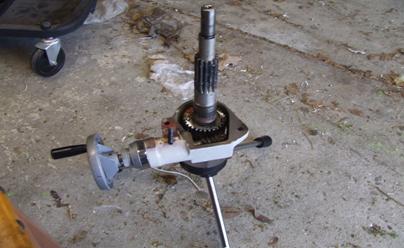
Remove the adjustable depth stop, front gearbox cover and gear levers. Now carefully release the spindle lock, and the spindle should slide out of the bottom of the head as a complete unit, all bearings in tact. Here is a photo of the spindle with the top bearing removed, and grease cleaned off. |
|
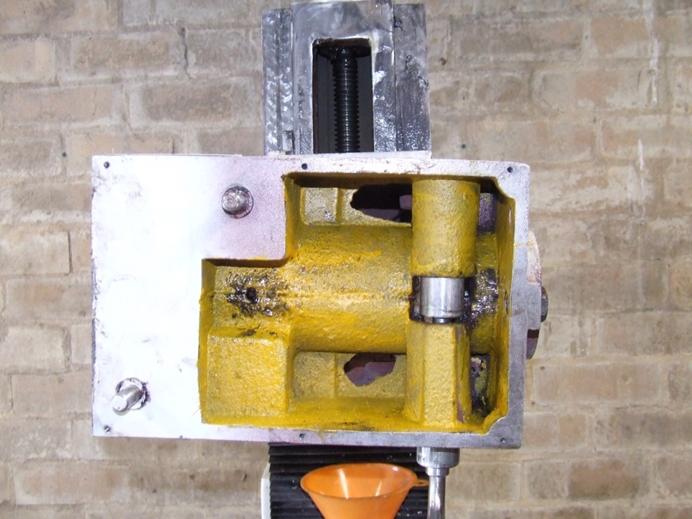
Mill head from the front. Note the sand casting marks are just painted over with yellow. |
|
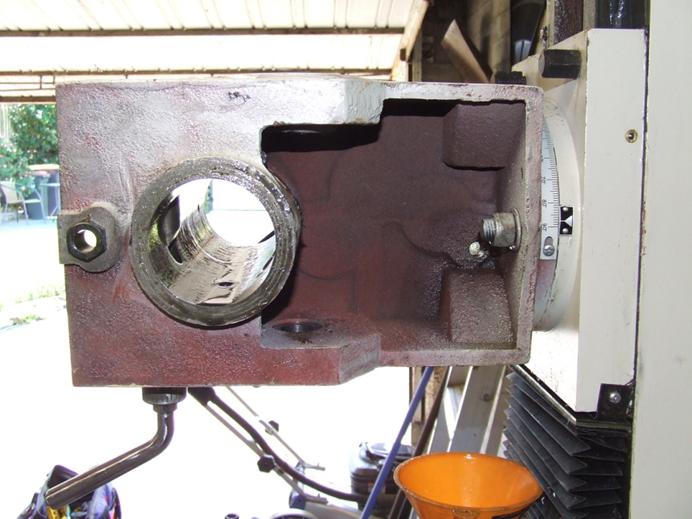
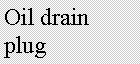
Mill head from under side. Note the oil drain hole. |

|
It was a real trick to remove the top of the gearbox.
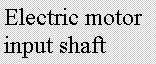
Start by removing the electrical connections to the motor, CAREFULLY REMOVE WIRES MARKING THEIR LOCATION. Remove hex head bolts and lift the spindle motor out of the gear head. Be careful of the shaft key as you remove the electric motor, don’t lose it. A good tip is to use electrical tape to secure the key to the motor shaft once you have removed it.
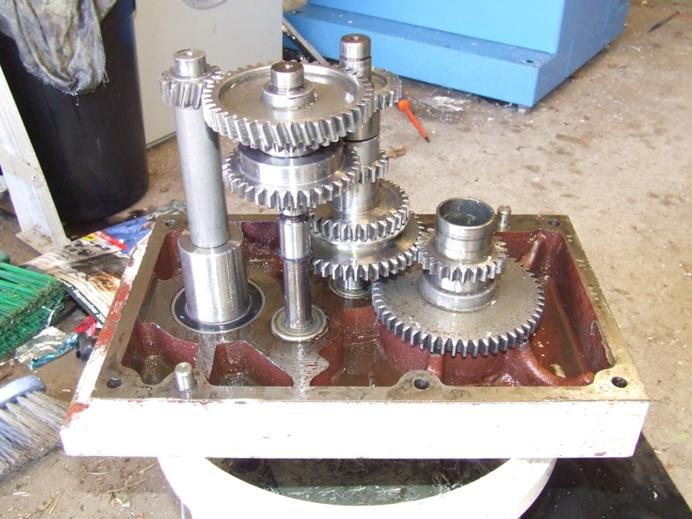
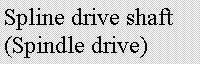
Undo the hex bolts on the top cover. There is a layer of silicone sealant between the top cover and the main body of the gearbox. I had to prize the top from the main body with big screwdrivers and a small crowbar! The top lifted off with all of the shafts and gears etc attached.
Here is a photo of the gearbox top removed and placed upside down on a bucket (to catch oil drips. |


|
Grae-Tech |
